
How to set up an unlimited secure VPN server for 5$/month
Thursday 4th March 2021
Many popular VPN services promise you the ultimate security for a big price. In fact, most of them keep a precise log of your activities and are willing to give it out. For that reason, it is not advisable to trust them. Even if the company's policy clearly indicates 'no-logs', they might still do it behind the curtains. You can specifically read more about it here: CLICK.
Let's begin the installation process!
VPS provider
We are going to be using DigitalOcean as our VPS provider. It is one of the oldest server providers out there with a ton of satisfied customers. It is both secure and easy to use. It also stands out for its low prices: starting from the only 5$/month. Sign up on DigitalOcean using this LINK to get the bonus.

Choosing a droplet
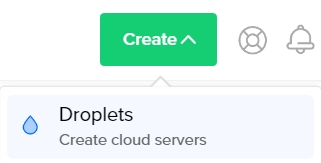
Once you have successfully signed up for the service, go ahead and choose to create a droplet. Droplet is another name for a server.
From here, choose the latest version of Ubuntu distro (20.04 in my case):

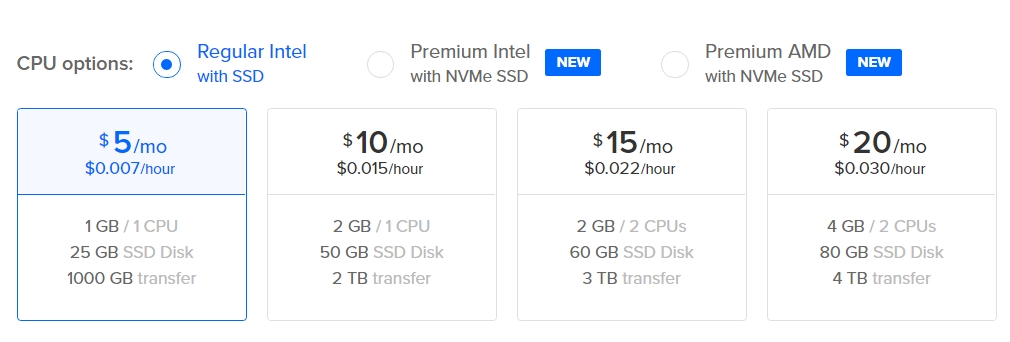
Then choose the 5$ plan below:
Lastly, choose any server region you want and set a password for your droplet at the bottom of the page:

Logging-in and updating
Connect to your newly created droplet using any SSH manager, such as PYTTY (Windows), Termius, or Linux command line.
ssh root@IP -pw PASSWORDAfter logging-in update your droplet by running:
apt update && apt upgradeConfiguring the server
Now it's time to download and install the server file:
wget https://raw.githubusercontent.com/Nyr/openvpn-install/master/openvpn-install.sh

chmod 777 openvpn-install.sh

bash openvpn-install.sh
You should see an output like this:
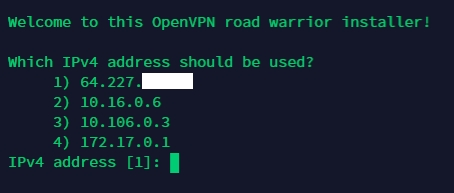
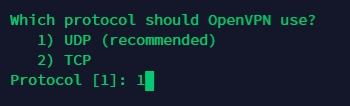
Choose option 1 to assign your public IP4 to the server. Next, choose UDP as your communication protocol:
Leave the next option blank:

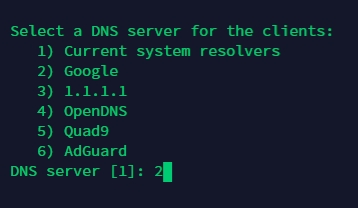
As for the DNS provider, choose whatever is more preferable to you:
Finally, you will see a finish message and will be able to access your VPN file on /root/client.ovpn

Using the VPN
First, you will need to copy the client.ovpn file onto your local machine using any SSH transferring tool, such as FileZilla or SCP.
Then download the OpenVPN client and connect to your server! As easy as that.
Last updated